HOWARD'S HORNS
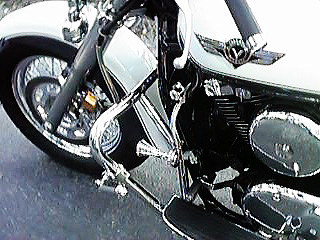
HONDA SHADOW INSTALLATION It looks good and sounds better, by the way, the green cable goes to the negative side of compressor.
CLICK ON PHOTOS TO ENLARGE FOR DETAIL
(Use 'BACK' button in browser to return)
====================================================================================================
KAWASAKI VULCAN INSTALLATION INSTRUCTIONS
Installation Instructions for Howard's Horns
on Vulcan Classic 1500D
These instructions and photos were provided by Charles Mack, one of our many valued customers.
Note: All references to left or right will be from the riders view.
- Pull off the electrical connections from the two existing horns. Using electrical tape, tape the ends of the right connection and store the wires out of sight as they will no longer be needed.
- Remove the left horn. This will facilitate the removal of the horn bracket.
- Remove the horn bracket. Access to the two bracket screws can be seen from a hole in the frame just under the headlight. Use a 10mm socket with an extension and ratchet . Save one of the bracket screws to be used later to mount the compressor.
- Prepare the compressor for mounting. Place the air hose over the air nozzle of the compressor. The air nozzle is the two inch long metal tube on the side of the compressor. Use needle nose pliers to help mount the hose as high a possible. Place the stainless steel cover over the air hose and secure it with the clamp provided. Place the clamp as high as possible.
- Prepare the compressor mounting screw. From the inside of the frame insert the saved bracket screw in the old horn bracket hole on the left side. From the front loosely fasten the screw with a locking washer and nut. You will need to purchase the nut and washer, they are not included.
- Mount the compressor. From inside the frame place the U shaped connection on the upper side of the compressor over the screw and tighten the nut on the front. Place the compressor at a 45 degree angle. This will make it easier to see and get at the electrical connections.
- Make the electrical connections. Using the old left horn wires place the connections over the proper leads under the compressor. The solid black wire is positive (+) and the black/white wire is negative (-). If you can't see or forgot which connection under the compressor is positive and which is negative, the connection on the air hose side should be negative.
- Test the system. Because the horn goes through the starter solenoid the bike must be started to use the horn. Press the horn button and check to see if air comes out of the air hose. If the hose is sucking in air you have the electrical connections backwards.
- Mount the horn to the bracket. Using the brass hose connection L shaped screw mount the horn to one end of the steel bracket provided. It may be necessary to use a washer if it does not go in far enough.
- Mount the bracket to the bike. On the left side of the bike on the lower frame just forward of the forward shift knob is a screw to which the bracket can be mounted. If you have Kawasaki's freeway bars this is the frame screw to which it is mounted. Also you can purchase at any Harley dealership a chrome clamp 1 1/4 inch which will mount on the freeway bars on to which, with a little work, you can mount the horn. Those are only two of the horn mounting places I know of there may be more.
- Cut the air hose to lengthen and connect it to the horn.
CLICK ON PHOTOS TO ENLARGE FOR DETAIL
(Use 'BACK' button in browser to return)
====================================================================================================
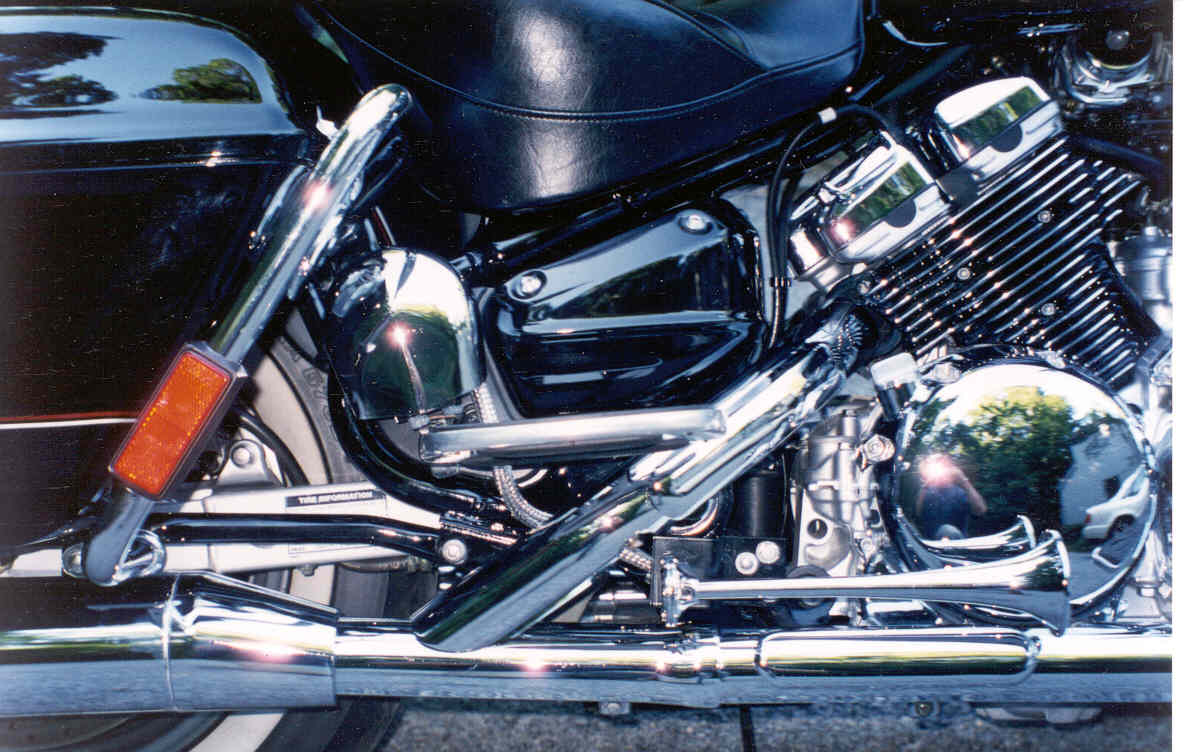
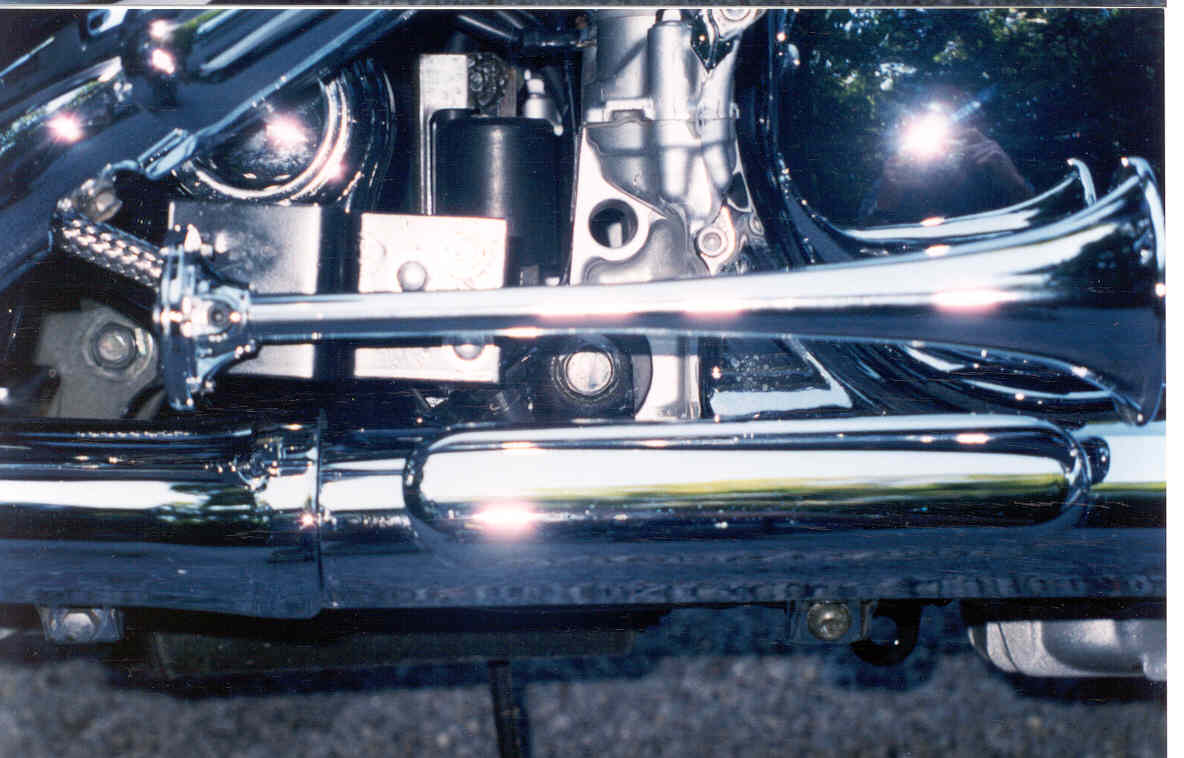
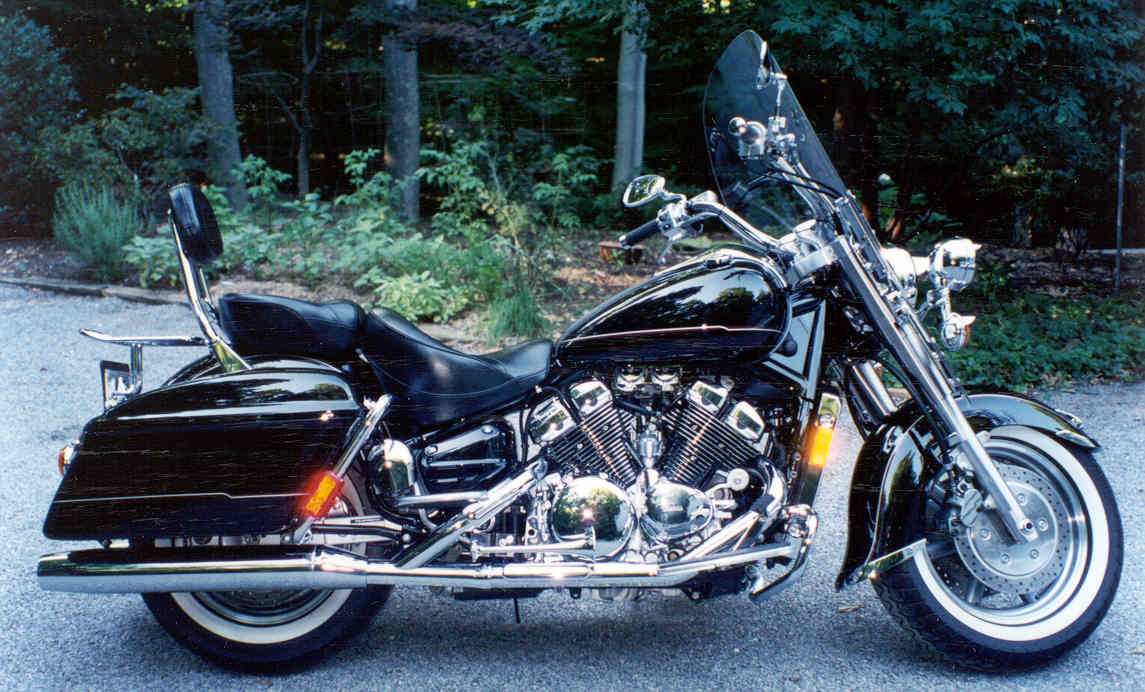
Installation Photos for Howard's Horns
on Yamaha Royal Star
These photos were provided by Gene VanderBosch, one of our many valued customers.
CLICK ON PHOTOS TO ENLARGE FOR DETAIL
(Use 'BACK' button in browser to return)
 |
 |
 |
====================================================================================================
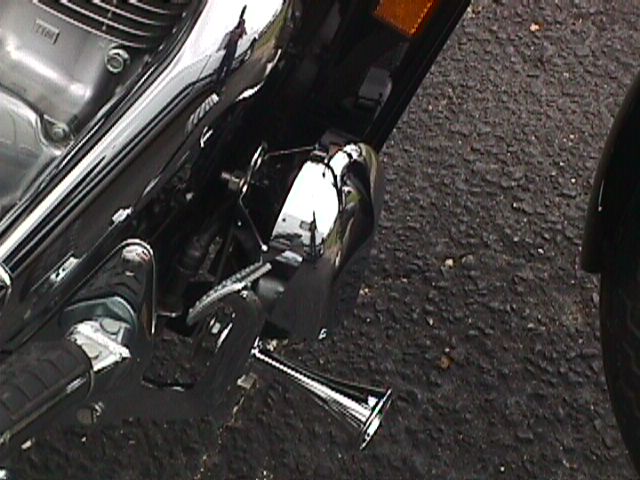
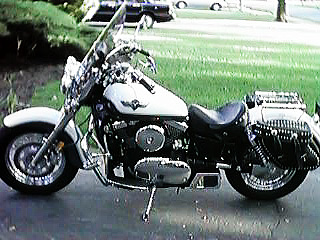
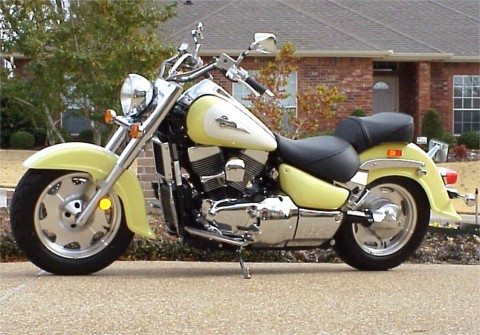
Howard's Hog Horns Installation Instructions
Suzuki VL 1500
Instructions and Photos are Provided by Phil Weinman and Mitch Perry,
Two of Our Many Valued Customers!
Make Certain Ignition is Off While Performing Work:
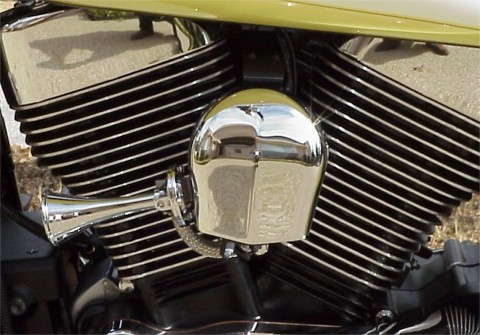
- Purchase a Harley-Davidson Horn Cover (Item #69012-93A) and an additional 1˝ inch long 5/16 bolt, nut, and washers.
- Remove the plastic air line from the braided stainless steel hose and cut the braided stainless steel hose to a length of 8 inches (or better yet, have a machine shop do this).
- Unplug the electrical connections from the existing horn (located on the left). Splice an extra 8 inches of wire into the three wires leading to the existing horn.
- Using an 11 mm wrench, remove the stock horn casing.
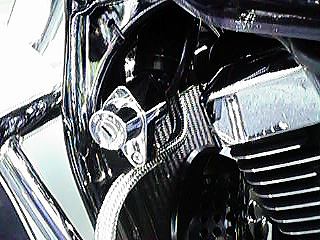
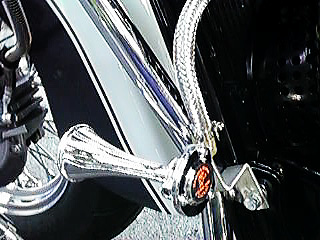
- Using the bracket that came with the horn kit, attach one end the bracket to the bottom hole of the Harley-Davidson Horn Cover and the other to the trumpet (refer to photos, below, for positioning).
- After shortening the plastic air line, and running it through the braided stainless steel hose, connect/tighten both ends of the line to the horn and compressor, respectively.
- Mount the compressor and horn cover by running the (purchased) 5/16 bolt from the compressor through the top hole of the horn cover, and then into the motorcycle's existing horn mounting bracket.
- Re-plug the electrical connections: The negative connection is the single (black) wire. The positive lead has two wires (black and gray) leading to the connection.
- Happy Honking!
CLICK ON PHOTOS TO ENLARGE FOR DETAIL
(Use 'BACK' button in browser to return)
====================================================================================================
====================================================================================================
Dynamic Duo: Use pull-down menu to select correct model
Dynamic Duo for EFI ULTRAs
Little Big Horn: Use pull-down menu to select correct model
NoseCone Dirt Guard-Pair for DYNAMIC DUO:


OUR BUSINESS IS HONKIN' !!!!!
BUSINESS HOURS ARE 9am TO 4pm EASTERN, M-F, 770-992-0034
Home
| Photos
| Dealers
| TechTips and Installation Instructions
| Reviews
| Metric Bikes
 For technical support please send E-mail to TechSupport@howardshorns.com.
Copyright © 1999 Howard's Horns
If you have any questions regarding this site, please contact the Webmaster.